
How to Use All Purpose Cleaner Safely and Effectively
You've wiped the kitchen counter after breakfast, sprayed the bathroom sink, and now you're wondering whether the same bottle belongs on the floor, the toilet, or the sticky stovetop. That hesitation is sensible. All-purpose cleaner is versatile, but it isn't a universal disinfectant, and the right result depends on the surface, the soil, the dilution, and how long the solution stays wet.
A good routine doesn't require a crowded cupboard. It requires a few clear decisions, a microfiber cloth, sensible ventilation, and a refill habit that keeps useful bottles in service. Here's how to use all purpose cleaner effectively, without wasting product or asking it to do a job it wasn't designed to do.
Table of Contents
- Introduction to All Purpose Cleaner and When It Shines
- What All Purpose Cleaner Cleans and What Needs Disinfecting
- Getting Ready to Clean With the Right Dilution and Surface Check
- How to Apply All Purpose Cleaner for Best Results
- Common Mistakes to Avoid and How to Fix Them
- Storing Refilling and Choosing Products That Align With Your Values
Introduction to All Purpose Cleaner and When It Shines
All-purpose cleaner earns its place by handling ordinary household soil. In a typical morning, that might mean coffee rings on a dining table, cooking grease around a hob, toothpaste flecks on a bathroom fixture, or dust settled on a shelf. A European product-use study cited by NCBI found that 84% of consumers use all-purpose cleaner in the kitchen and 76% use it in the bathroom. The same study recorded use on floors, sinks, and toilets, so the bottle clearly travels well beyond one room.
That doesn't mean every surface gets the same treatment. A lightly soiled countertop may need a diluted solution and a quick wipe. A greasy stovetop needs pre-cleaning and enough product to loosen the film. A sealed floor often needs a properly diluted mop solution rather than repeated direct spraying, which can leave residue underfoot.
Practical rule: Use all-purpose cleaner to remove soil. Switch to a disinfectant when germ kill is the actual job.
Most surface cleaners are used routinely rather than ceremonially. The NCBI-cited study reports a usage range of 1 to 7 times per week, with a typical frequency of 2 times per week, or about 104 uses per year. It also reports that 80% of consumers use all-purpose cleaner in liquid form, which makes spray bottles and refill systems practical for everyday work.
The low-waste version of this routine is simple. Keep one durable bottle for regular cleaning, refill it instead of replacing it, and use a separate labelled product when disinfection is necessary. Supporting good companies that care about ingredients, waterways, workers, and packaging makes the routine feel coherent, not merely tidy.
What All Purpose Cleaner Cleans and What Needs Disinfecting
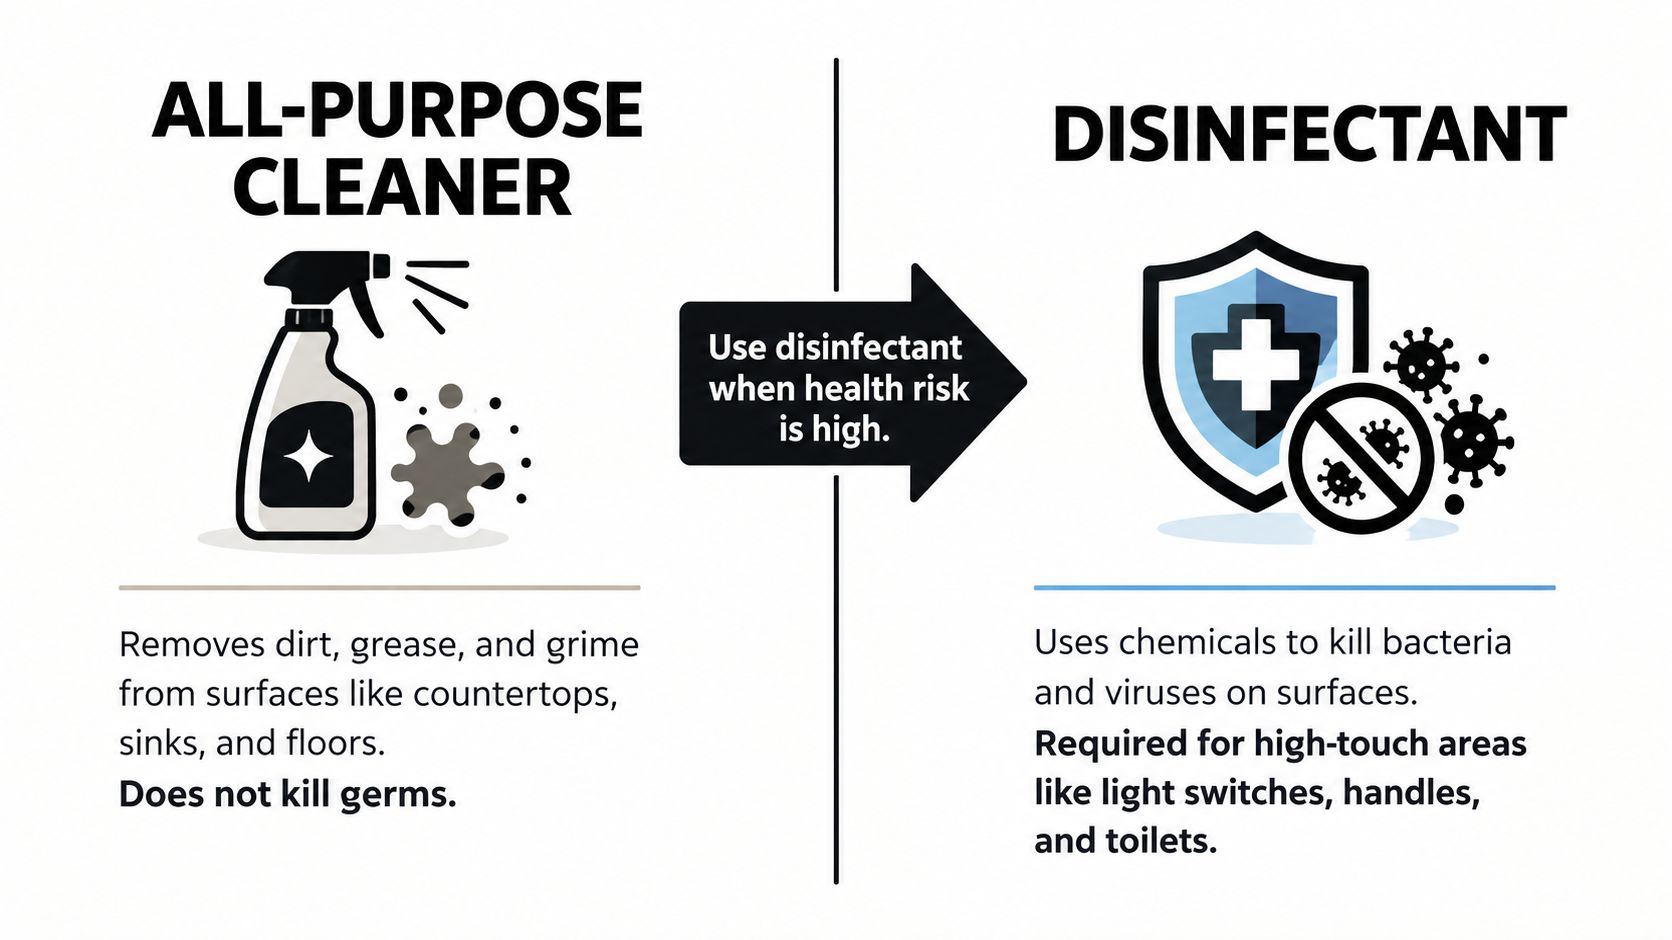
Cleaning, sanitizing, and disinfecting aren't interchangeable. Cleaning removes dirt, grease, grime, and some microbes from a surface. Sanitizing reduces microorganisms to a level specified by the product label. Disinfecting uses an appropriate registered product and its stated contact time to kill named microorganisms on eligible surfaces.
For routine dust, food crumbs, soap residue, and fingerprints, all-purpose cleaner is usually enough. Use it on a nonporous countertop after ordinary meal preparation, a sink with visible marks, a sealed floor, or bathroom fixtures. If you're looking for gentler options for hard floors, these natural recipes for floor cleaning offer useful context about matching a method to the flooring material.
The decision changes after raw food preparation, during or after illness, or on frequently touched points such as handles, switches, taps, and toilet surfaces. In those cases, first remove visible soil, then use an EPA-registered disinfectant whose label covers the surface and the intended germ-kill claim. A product marketed as an all-purpose cleaner may also disinfect, but the label must say so. The bottle's general-purpose wording alone isn't proof.
| Situation | Use | What matters |
|---|---|---|
| Dust, grease, fingerprints, and soap film | All-purpose cleaner | Remove the soil thoroughly |
| Routine floor or fixture care | Diluted all-purpose cleaner | Follow surface and dilution directions |
| Raw food residue or illness cleanup | Cleaner, then labelled disinfectant when required | Pre-cleaning and contact time |
| High-touch surfaces where germ kill is the goal | EPA-registered disinfectant | Keep the surface wet for the label's dwell time |
| Food-contact surface after disinfection | Labelled disinfectant | Rinse with potable water if the label requires it |
An EPA-reviewed label illustrates the difference clearly. It directs users to apply enough product to make the hard, nonporous surface thoroughly wet, keep it wet for 10 minutes for disinfection, and rinse food-contact surfaces with potable water afterward. A separate EPA label gives a sanitizing example of 1:64 dilution with 3 minutes of wet contact, showing why you should never guess from one product's instructions when using another.
For a broader list of practical uses, see this all-purpose cleaner uses guide. The useful takeaway is restraint. Don't disinfect every dusty bookshelf, and don't assume a quick wipe has disinfected a contaminated counter.
Getting Ready to Clean With the Right Dilution and Surface Check
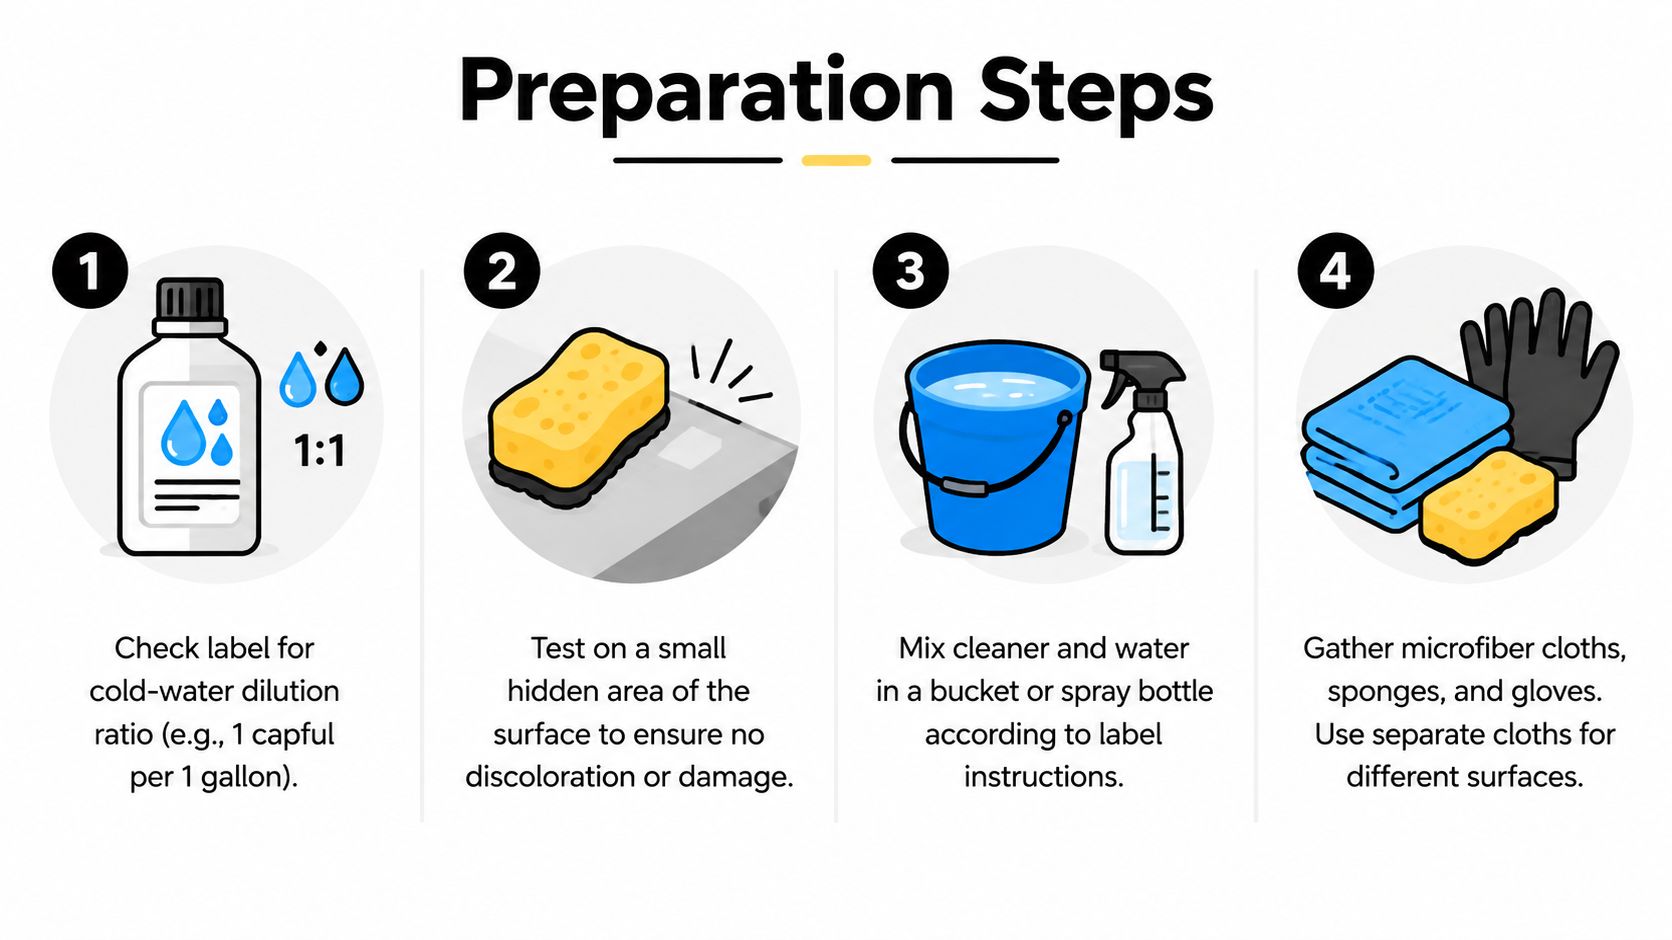
Preparation prevents most cleaning problems before the spray touches the surface. Start by reading the product label, especially the directions for cold-water dilution, suitable materials, application method, and any rinse requirement. Standards guidance treats recommended dilution as a technical control point, not a decorative instruction, because stronger isn't automatically better.
A technical data sheet for a general-purpose cleaner gives a useful illustration: 10 ml per liter of water, or 1:100, for low soil, and 25 ml per liter, or 2.5:100, for heavier soil. Those examples aren't universal recipes. They show the sensible pattern, use less concentrate for light daily soil and increase it only when the label permits and the surface needs more cleaning power.
Match the solution to the job
For a lightly marked counter, mix the label's low-soil solution in a spray bottle or apply it to a clean microfiber cloth. For a greasy stovetop, remove loose crumbs and scrape or lift heavy residue first, then use the stronger permitted dilution. A mop bucket can work for floors when the product label allows it, but don't pour an undiluted concentrate into a large bucket and hope the water will distribute it evenly.
| Before cleaning | What to check |
|---|---|
| Product label | Dilution, surface restrictions, dwell time, and rinse directions |
| Surface | Sealed, painted, porous, polished, food-contact, or electronic |
| Soil level | Dust and fingerprints versus grease, spills, or stuck-on residue |
| Tools | Microfiber cloths, mop, bucket, gloves, and a separate rinse cloth |
| Safety | Ventilation, intact skin protection, and no mixed products |
Spot-test an inconspicuous area on painted finishes, unfamiliar flooring, coated furniture, or anything with a delicate finish. Let the test area dry before judging it. Real wood deserves particular caution because excess moisture and unsuitable chemistry can damage its finish. Electronics need a different approach altogether, never spray directly onto a screen, keyboard, or device.
Use separate cloths for kitchen, bathroom, and floor work, or launder them between tasks. A clean cloth spreads cleaner evenly; a saturated, dirty cloth moves yesterday's grime around. Gloves are sensible when the label advises them or when you're handling concentrated product, and ventilation matters because some cleaner ingredients can irritate the skin, eyes, nose, and throat, as the EPA consumer safety guidance explains.
How to Apply All Purpose Cleaner for Best Results
The most reliable workflow is mechanical first, chemical second. Dust, sweep, or lift loose crumbs before applying liquid. Dry grit can scratch some finishes, while visible grease can block the cleaner from reaching the surface evenly.
Work in a controlled sequence
Apply enough solution to cover the target area without creating unnecessary runoff. For ordinary cleaning, a light, even coating is usually more useful than a soaking spray. Work from cleaner areas toward dirtier ones, changing or rinsing the cloth as it loads up, so the bathroom tap doesn't become the place where every previous surface ends up.
Use this sequence:
- Remove loose soil: Pick up crumbs, hair, dust, and grit with a dry cloth, brush, or vacuum.
- Apply the solution: Spray the surface only when the label allows direct application. For electronics, delicate finishes, or narrow areas, spray the cloth instead.
- Keep the surface wet when required: If the product claims sanitizing or disinfecting action, maintain continuous wetness for the label's stated dwell time.
- Wipe methodically: A damp microfiber cloth and an S-pattern help you see where you've already worked. Rinse the cloth often.
- Rinse only where directed: Food-contact surfaces may need potable-water rinsing after disinfection, while some routine surfaces can be wiped clean.
- Dry appropriately: Allow air drying when the label permits it, or wipe dry when residue, streaks, or slip would be a problem.
For disinfection, an EPA-reviewed multipurpose label specifies 10 minutes of wet contact for a broad disinfecting instruction. That time isn't optional. Laboratory evidence across disinfectant products shows that shortening contact time can reduce kill performance, and one controlled study found 1 minute outperformed 30 seconds for adequate disinfection of Candida auris. If the surface dries early, reapply enough product to restore wet coverage rather than counting a dry wait as contact time.
Floors need a lighter hand. Dilute as directed, mop in manageable sections, and avoid leaving puddles that can damage finishes or create a slipping hazard. Sinks and toilets may need extra attention around rims, seams, and fittings, but the same pre-cleaning principle applies.
The EPA advises rubber gloves, good ventilation, and never mixing cleaners, particularly ammonia-based and chlorine-based products because toxic chloramine gas can form. Don't combine products in a bucket, layer one spray over another, or add an improvised ingredient to a labelled formula.
For material-specific care, this guide by The Sofa Cover Crafter is a useful reminder that faux leather and upholstery finishes need their own compatibility checks. You can also compare product categories in this antimicrobial cleaning products overview.
A short visual demonstration can help make the wiping motion feel natural:
Common Mistakes to Avoid and How to Fix Them
Most cleaning disappointments come from using too much product, too little preparation, or too little time. More foam doesn't prove better cleaning. A strong fragrance doesn't prove disinfection. A surface that looks wet for a moment hasn't necessarily received the contact time printed on the label.
| What you notice | Likely cause | Practical fix |
|---|---|---|
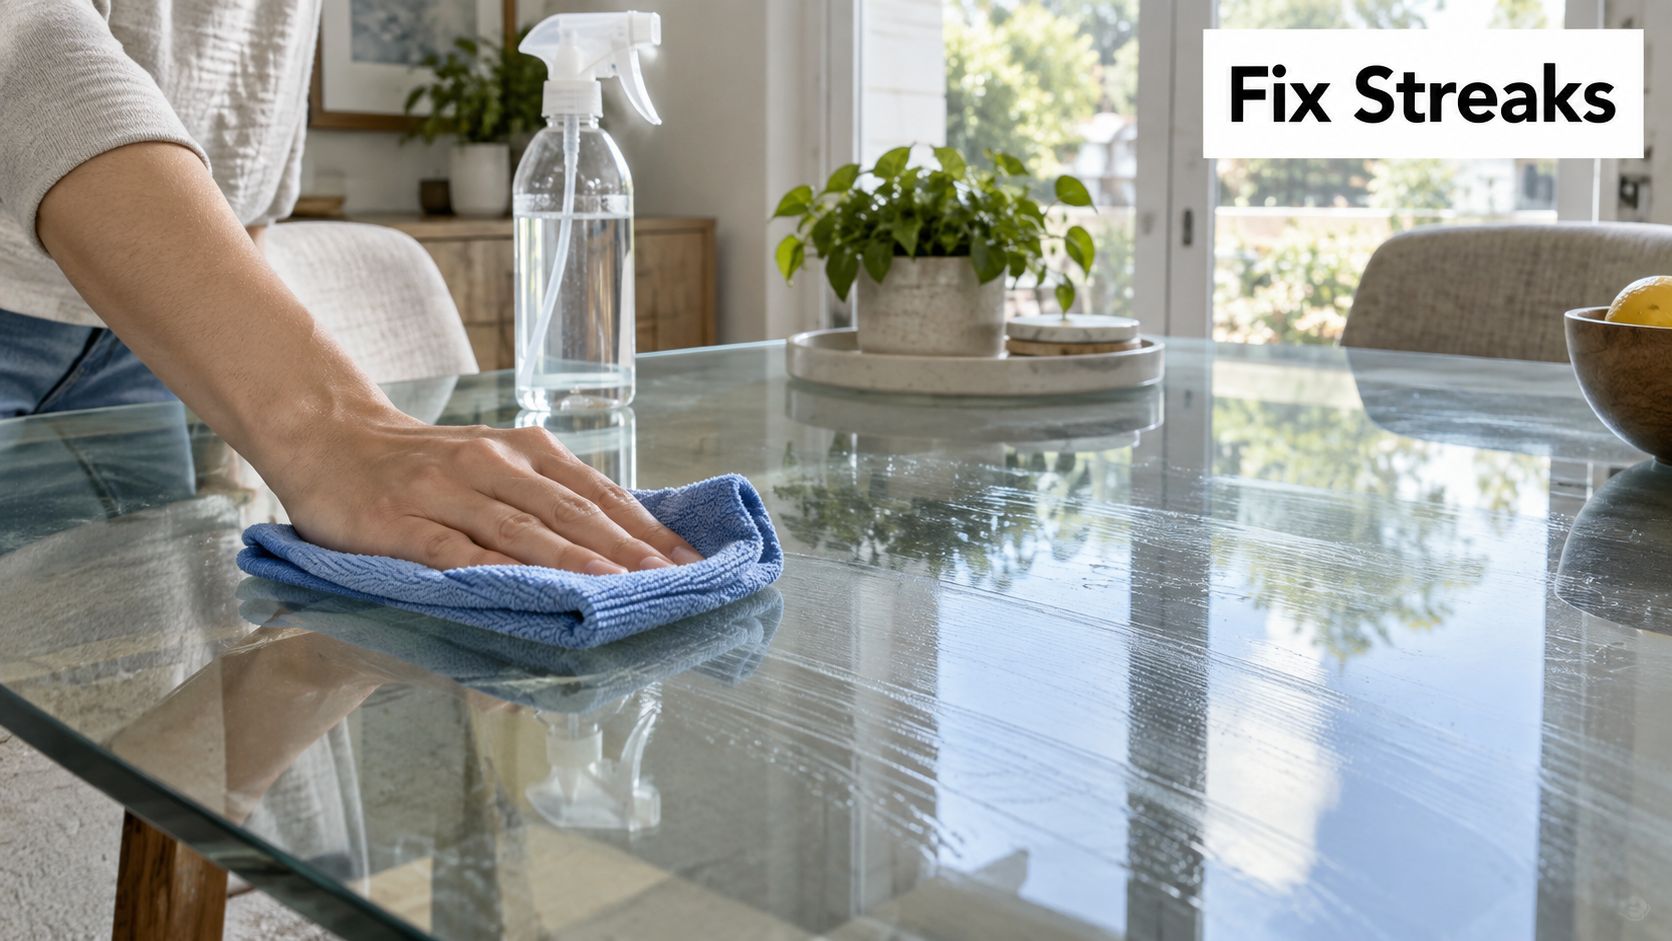
| Sticky or streaky counter | Too much concentrate or product left behind | Recheck the dilution, then wipe with a clean damp cloth |
| Dull or tacky floor | Over-application or unsuitable concentration | Use the label's floor dilution and change rinse water when it becomes dirty |
| Grease still present | Cleaner applied over heavy soil | Remove loose and greasy soil first, then reapply |
| Germ-kill result not achieved | Wrong product or shortened dwell time | Use a labelled disinfectant and keep the surface wet for the stated interval |
| Lingering cleaner smell | Poor ventilation or excess product | Open windows where possible, use less solution, and follow the label |
The common mistake I see with refill routines is treating concentrate like a ready-to-use spray. A refill box may be economical and low-waste, but the bottle still needs the correct water-to-product ratio. Mark the bottle clearly if you mix a concentrate, and don't top up a partly used solution with more concentrate.
Food-contact surfaces deserve their own check. If the disinfectant label requires rinsing, rinse with potable water after the dwell time. If a regular all-purpose cleaner leaves residue, use a clean damp cloth rather than adding another chemical to solve the first chemical's excess.
Storing Refilling and Choosing Products That Align With Your Values
A low-waste cleaning system has to be safe as well as economical. Store concentrates in their original, labelled containers, away from children, pets, heat, and food. Keep spray bottles labelled, close the trigger after use, and never transfer cleaner into a bottle that previously held a different chemical unless it has been properly cleaned and the product directions allow reuse.
Refilling works best when you make it boring and repeatable. Keep a clean bottle beside the place where you use it, maintain a small supply of microfiber cloths, and refill before the bottle is completely empty. Home refill systems can reduce packaging turnover, but only when you measure accurately and don't over-pour. A suitable gallon jug pump can also make larger containers easier to handle without spills.
When comparing products, look beyond a pleasant scent or a long surface list. Check whether the formula suits your materials, whether the label explains dilution, and whether the manufacturer provides credible ingredient and safety information. The EPA's Safer Choice product programme includes all-purpose cleaners among eligible categories, and its screening avoids known carcinogens and reproductive or developmental toxicants, providing a concrete benchmark for ingredient guardrails.
A good product also comes from a good company. Supporting women-owned and community-focused makers keeps purchasing connected to people, waterways, packaging choices, and local work. Fillaree's Clean Dream Spray is designed for nonporous surfaces such as countertops, porcelain, and bathroom fixtures, with refill options intended to keep bottles in use. The broader value is practical: buy a formula that fits your home, measure it correctly, and choose refills or return systems that match your capacity.
Start with one bottle, one refill, and one clearly labelled routine. That small change is easier to maintain than a cupboard full of half-used products.
Fillaree offers refillable, low-waste home essentials, including Clean Dream Spray for suitable nonporous surfaces, plus home refills and refill options that help you keep a durable bottle in service. Visit Fillaree to explore products, refill choices, and practical ways to clean with less single-use plastic.