
All Purpose Cleaner Recipe with Castile Soap
You're standing at the sink after dinner, cloth in hand, looking at a counter scattered with crumbs and a faint ring from a mug. You don't need a cupboard full of sprays for that job. You need one small, fresh batch you understand, used on the right surfaces, and rinsed well.
Table of Contents
- A Simple Cleaner for Everyday Low-Waste Habits
- Understand Castile Soap Before Mixing
- Mix a Fresh Castile Soap Cleaner
- Choose Water Scent and Optional Ingredients
- Use the Cleaner on Compatible Surfaces
- Keep Cleaning and Disinfecting Separate
- Troubleshoot Residue and Make Refills Easier
A Simple Cleaner for Everyday Low-Waste Habits
That after-dinner wipe-down is exactly where an All Purpose Cleaner Recipe with Castile Soap fits best. You shake crumbs into the bin, dampen a cloth with a diluted soap spray, and lift the everyday film from a sealed counter. It's routine soil removal, not a promise to disinfect everything it touches.
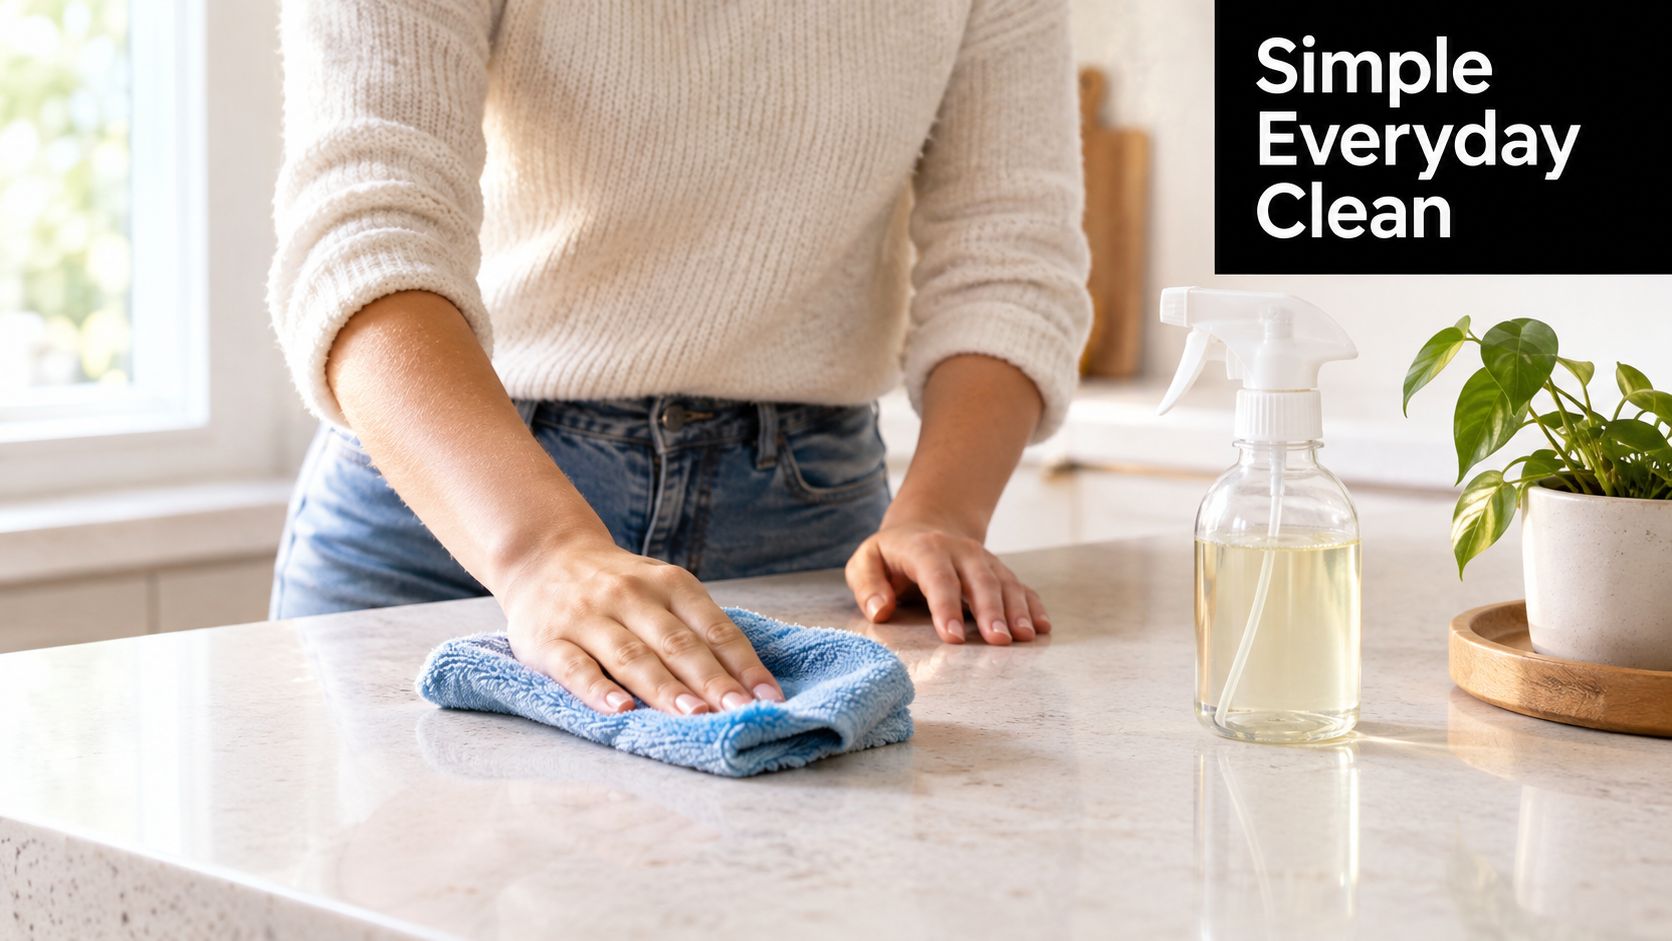
The same modest routine works for an entryway table that collects keys and tracked-in grit, or a small café counter between customers. In each case, you're removing loose soil first, then using soap, water, and friction to lift what remains. You're not treating a surface that's been in contact with raw meat juices or bodily fluids the same way, and that distinction matters.
What This Recipe Can and Can't Do
A diluted Castile spray can handle general cleaning of compatible, washable hard surfaces. It can't be assumed to kill bacteria or viruses, because that kind of claim requires product-specific testing and label authorization. Keeping that boundary clear from the start helps you choose the right tool instead of expecting one bottle to do every job.
You'll get a precise low-concentration ratio, guidance on water and scent, surface precautions, and fixes for streaks or film. You'll also see how refillable packaging connects the recipe to a low-waste routine you can repeat. Supporting good companies who care starts with that same clarity, favoring good products with transparent ingredients over vague green claims.
The best recipe is the one whose ingredients, concentration, label, and intended use are all clear before you spray.
That clarity is the habit worth building. Measure the soap, write the date on the bottle, test an unfamiliar finish, and rinse food-contact surfaces with clean water. Simple doesn't mean careless, and that's what makes this approach sustainable in daily life.
Understand Castile Soap Before Mixing
Castile soap isn't just a soft marketing word for a mild detergent. It's a true soap, made through saponification, the reaction of vegetable oils with an alkali such as sodium hydroxide or potassium hydroxide in water. That chemistry is why it lifts and suspends oils and soil instead of only pushing them around.
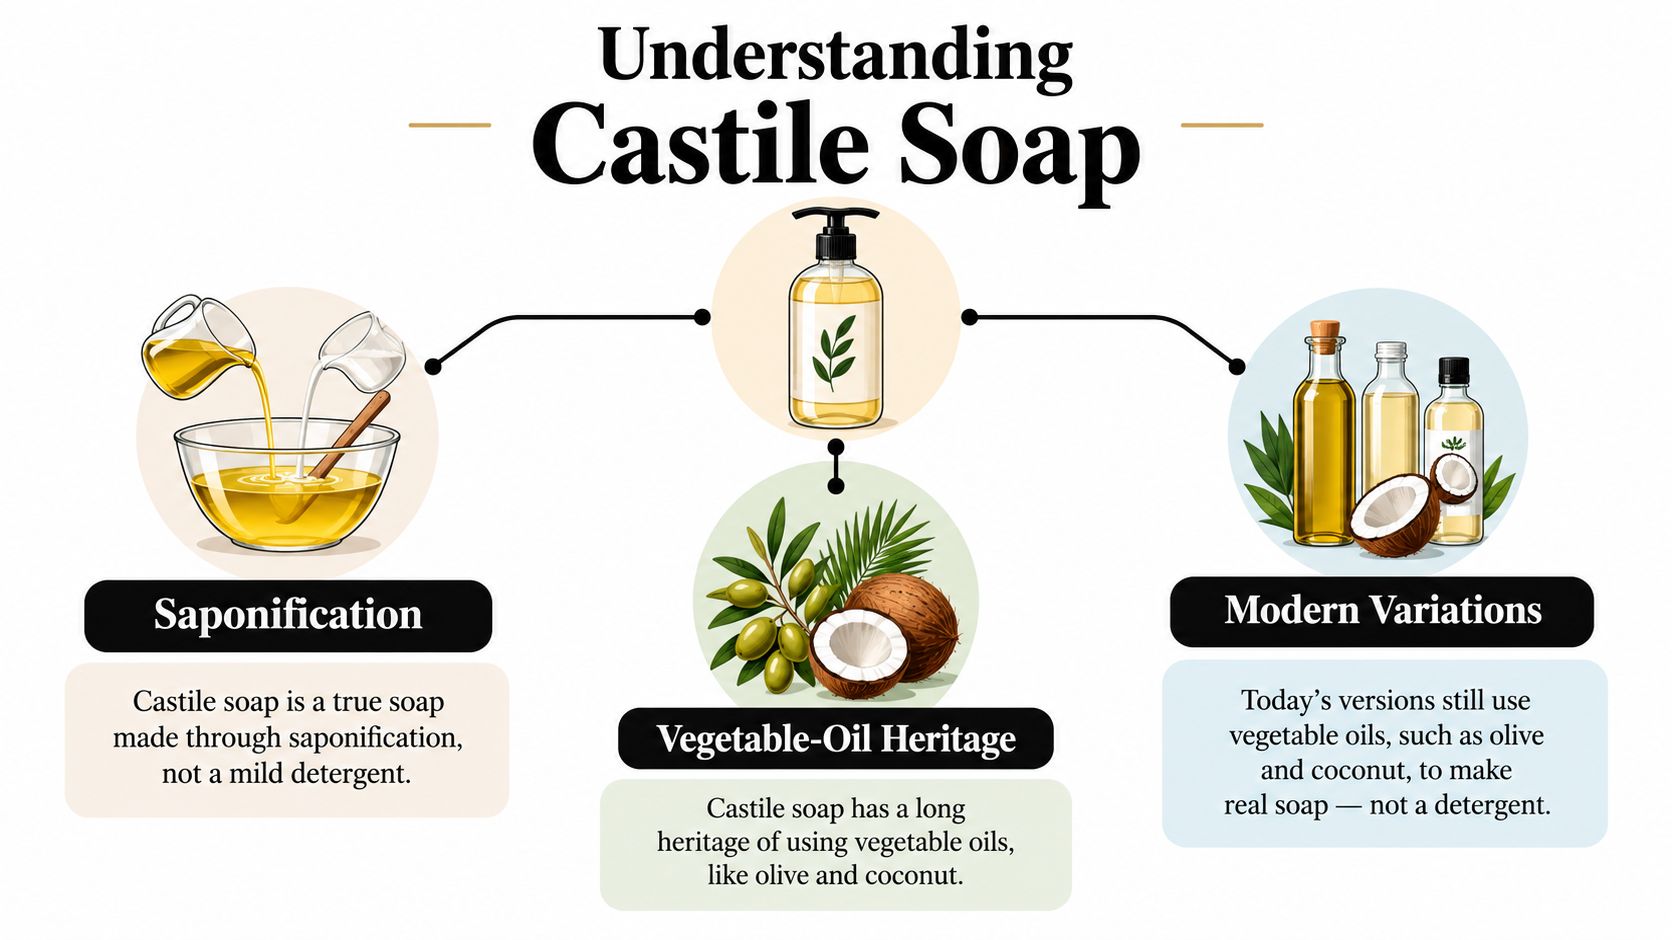
Its roots run deep. Soapmaking was known in the Fertile Crescent by approximately 2000 BCE, and the olive-oil tradition linked to the Crown of Castile in Spain developed later in the Mediterranean, drawing on earlier Aleppo soapmaking that also used laurel oil, as traced in the history of Castile soap from olive-oil traditions to modern vegetable-oil formulas. Castile generally omitted laurel oil and relied primarily on olive oil.
Why the Word Castile Isn't Enough
Modern usage is broader. Today's formulas may combine olive, coconut, hemp, or other plant oils, so two bottles labeled Castile can behave differently in dilution and residue. That's why a resource like Fillaree's guide to castile liquid soap and household dilution is useful for checking what a specific product contains before you mix. Judge the ingredient list and concentration, not the name alone.
Traditional soap is naturally alkaline, with a reported pH around 10 and, for some Castile formulations, approximately 10 to 11, a range noted in cleaning statistics and Castile soap chemistry background. That alkalinity helps loosen grease and soil. It doesn't make your spray a registered disinfectant, and it doesn't guarantee pathogen elimination.
- Alkalinity helps cleaning: It supports soil removal on compatible surfaces when diluted and rinsed.
- Alkalinity isn't disinfection: Efficacy claims need testing for specific organisms, not a pH reading.
- Acids undo soap: Vinegar or citric acid in the same bottle can create curds and fatty-acid residue.
If you're comparing other homemade approaches, a separate resource on baking soda and vinegar window cleaner shows how acid-based mixtures belong in their own bottle and routine. Keep those chemistries apart, and your Castile spray stays predictable.
Mix a Fresh Castile Soap Cleaner
Start with a clean, empty spray bottle and a measuring spoon. Estimating a glug from the soap bottle is how most residue problems begin, because concentrated soap is easy to overdo. A measured, low-concentration batch is easier to rinse and easier to repeat next week.
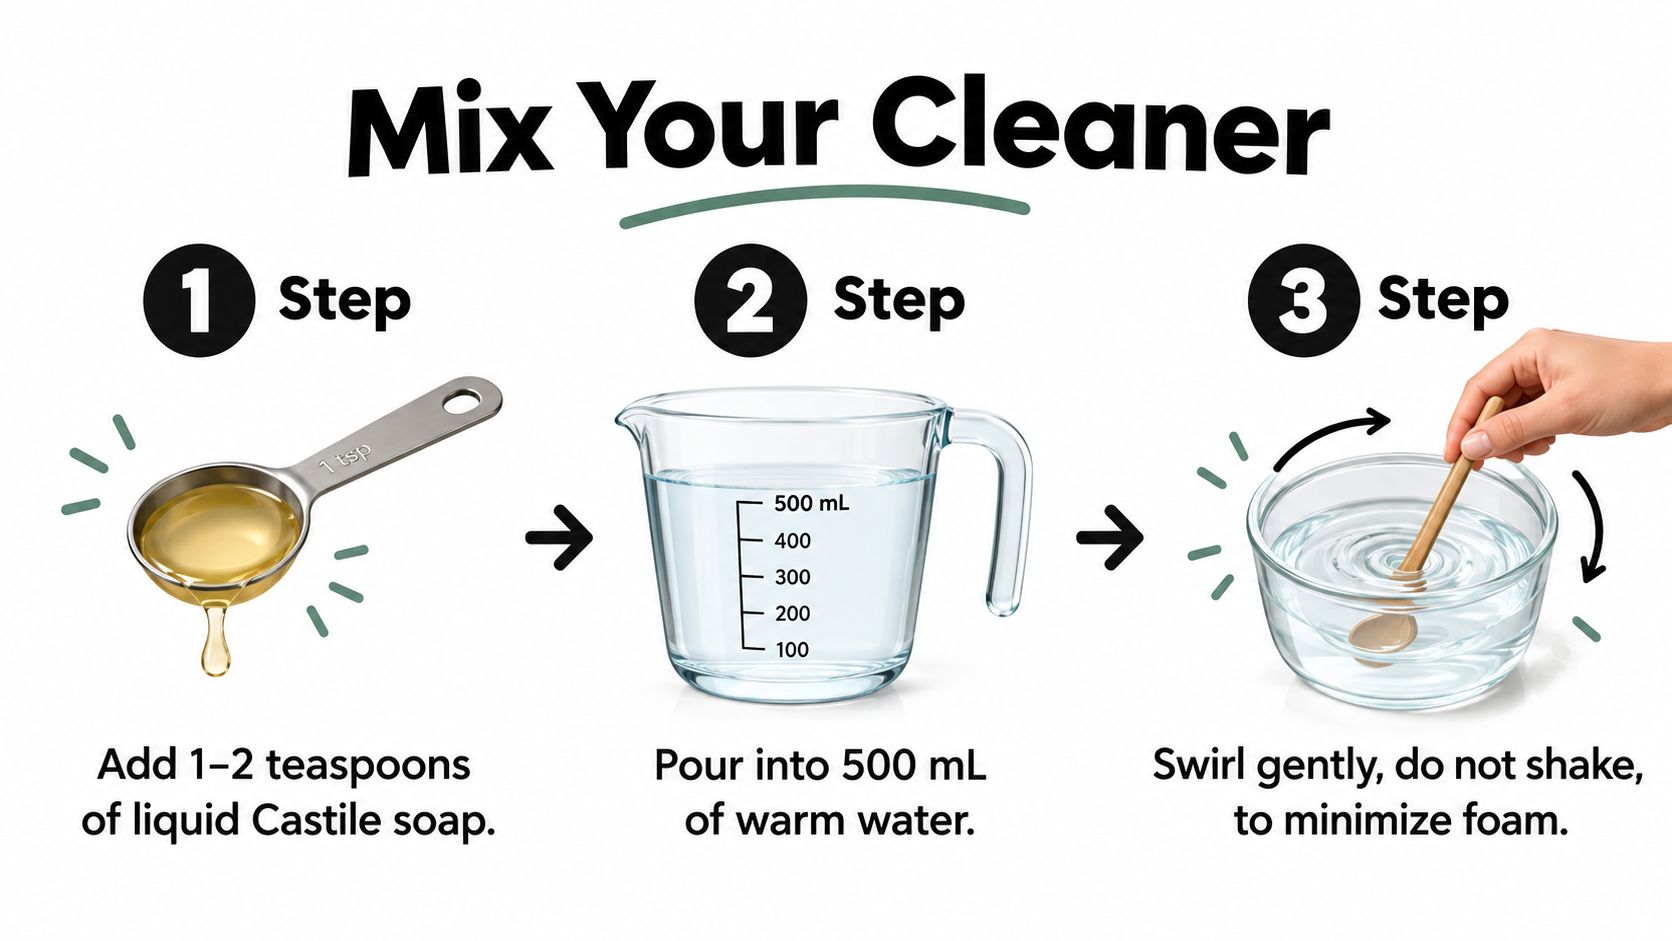
Add approximately 1 to 2 teaspoons of liquid Castile soap to 500 mL of warm water, then swirl gently to minimize foam, following the chemistry of soap, hard water, and fatty-acid carboxylates. Use the lower end for light daily wiping and the upper end only for heavier everyday soil on compatible surfaces. Don't treat extra soap as extra strength, because surplus soap is what dries into film.
A Repeatable Mixing Sequence
- Fill first: Pour the warm water into the bottle before adding soap, so foam doesn't overflow.
- Measure the soap: Add 1 to 2 teaspoons, level, not heaped.
- Swirl, don't shake: Turn the bottle gently until the soap disperses.
- Label immediately: Write the ingredients and formulation date on the bottle, and store it away from children and pets.
Make a fresh batch rather than storing diluted spray indefinitely. A dated label turns a vague homemade mixture into a household product you can track, and it reminds everyone else in the home what they're picking up. If the scent or appearance changes, discard it and mix again.
Watching the gentle swirling technique can help if you're used to shaking commercial sprays.
How to Apply It
First remove loose crumbs or grit with a dry cloth or brush. Spray the diluted solution onto a microfiber cloth rather than saturating the surface, allow roughly 30 to 60 seconds of contact for soil softening, then agitate lightly. Finish with a wipe using a cloth dampened with clean water, especially on food-contact surfaces.
That final rinse wipe is the step people skip, then blame the recipe for streaks. If glass is your main concern, separate guidance on how to make streak free cleaner explains why soap film and glass are a poor match. For counters and sealed surfaces, less soap plus a rinse wipe usually solves the haze.
Practical rule: If you can feel soap on the surface after it dries, you've used too much soap or too little rinsing.
Choose Water Scent and Optional Ingredients
Your water choice shapes the result more than any scent add-in. Calcium and magnesium ions in hard water react with soap to create insoluble deposits that reduce cleaning action and leave haze. In hard-water regions, distilled or deionized water prevents much of that reaction before it starts.
Tap water is convenient and works well where water is soft. Where it's hard, you'll spend your time buffing residue instead of cleaning. Reducing the soap dose helps, while increasing it generally makes streaking worse.
Ingredient and Water Choices
| Choice | Best Fit | Trade-off or Safety Note |
|---|---|---|
| Tap water | Soft-water homes, quick fresh batches | May leave mineral soap deposits in hard water |
| Distilled or deionized water | Hard-water areas, visible surfaces | Extra purchase, but less streaking and film |
| Plain unscented Castile soap | Fragrance-sensitive homes, food areas | Fewest added ingredients to track |
| Lightly scented Castile soap | Entryways and bathrooms | Check the full ingredient list, not scent alone |
| Essential oils or scent additions | Only if you want fragrance | Adds formula complexity, not proven disinfection |
Every intentionally added ingredient counts. The EPA Safer Choice program reviews every intentionally added ingredient regardless of concentration against human health and environmental criteria, as described in EPA guidance on the Safer Choice label and ingredient review. A plant-derived addition isn't automatically harmless, so disclose it on your label and consider it part of the whole formula.
Keep Acids Out of This Bottle
Don't add vinegar or citric acid to Castile soap. Acid protonates the soap, causing fatty-acid separation or curd formation, and the mixture loses reliable surfactant performance. Keep an acidic mineral-scale cleaner in a separate bottle, and use it only after soap has been fully rinsed away.
That separation also protects finishes. Background on vinegar and water floor damage is a useful reminder that acidic solutions can harm some wood finishes, just as soap can dull others. Choose by surface, not by habit.
When buying soap, favor clear ingredient lists, a practical container size you'll finish, and refillable or reusable packaging. Those aligned values, transparency, measured use, and less repeated single-use plastic, matter more than a long list of optional add-ins.
Use the Cleaner on Compatible Surfaces
Think surface by surface, not room by room. A sealed laminate counter, a painted cabinet front, and a polished stone top can sit in the same kitchen and need different care. Your spray belongs on sealed, washable hard surfaces you've confirmed can tolerate diluted soap and a rinse wipe.
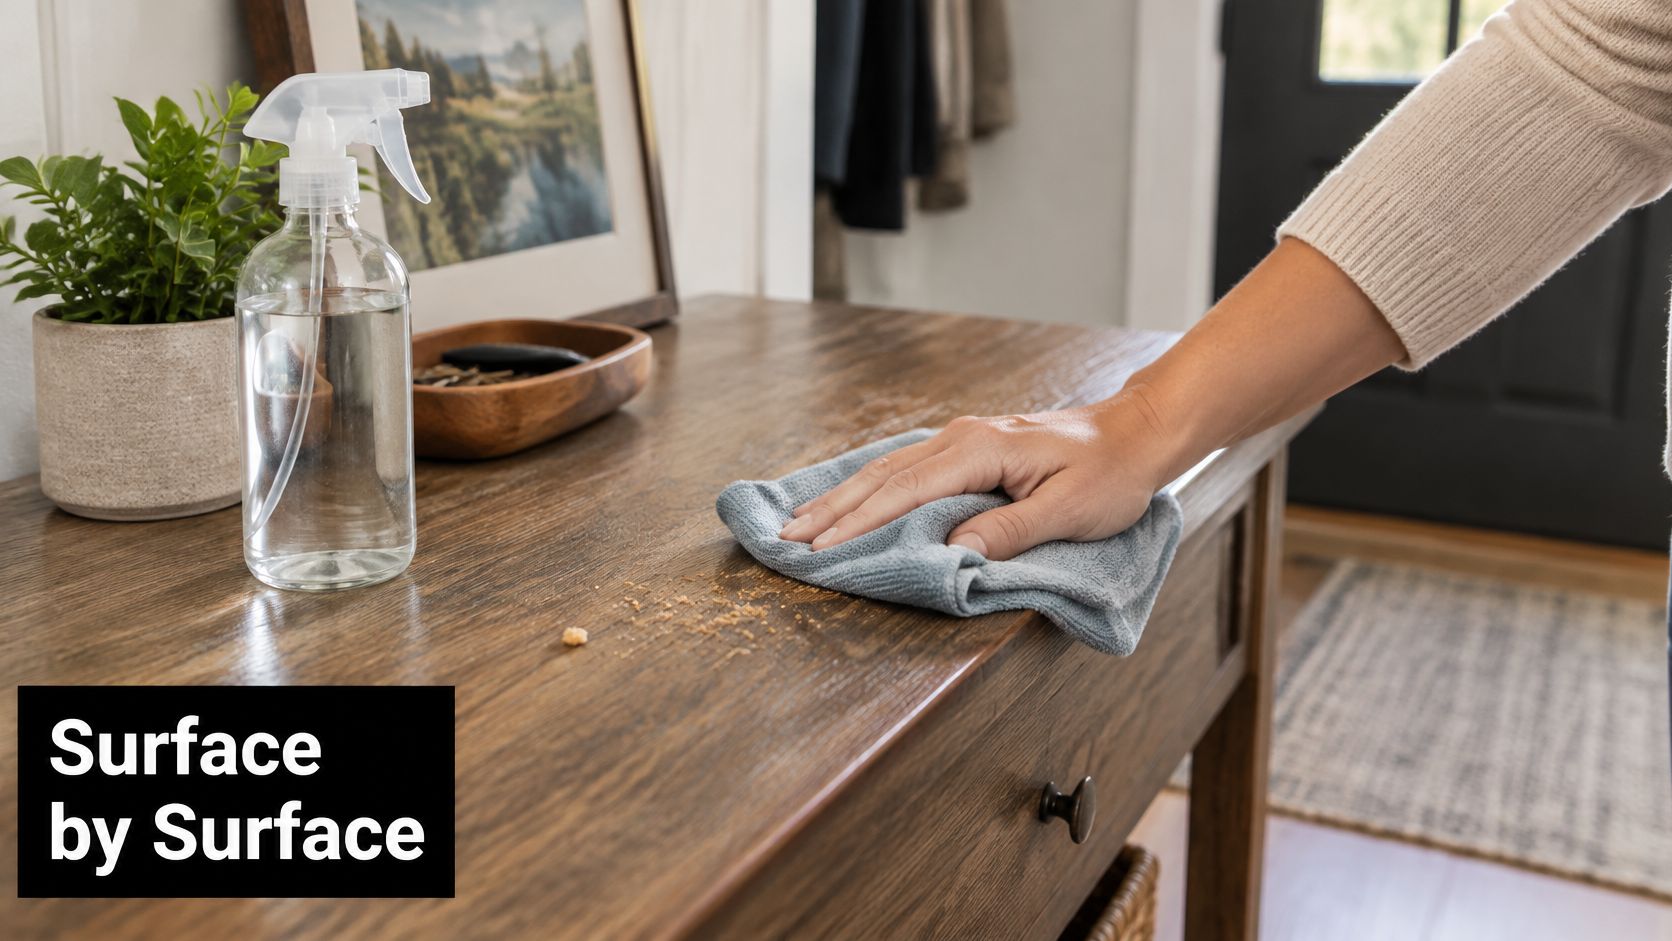
Begin every job the same way. Brush off loose soil, lightly dampen a microfiber cloth with the spray, wipe with small overlapping strokes, then inspect as it dries. If you see streaks or feel tackiness, follow with a clean-water wipe rather than adding more soap.
Practical Examples
- Weekly kitchen wipe-down: Clear crumbs, clean sealed counters and appliance exteriors, then rinse-wipe areas where food is prepared.
- Small-business counter refresh: Clean the sealed checkout surface between rushes, rinse-wipe, and let it dry fully before placing paper goods back.
- Garden-adjacent entryway: Shake grit from the mat first, then wipe the console table and door handle area where soil is tracked indoors.
Each example is routine soil removal. None requires flooding the surface, and each benefits from a dedicated cloth you wash regularly. A dirty cloth redeposits soil no matter how careful your ratio is.
Test First on Delicate Finishes
Test on an inconspicuous area before broad use, especially on polished stone, waxed wood, and delicate finishes, where concentrated soap can leave film or alter sheen. Wait for the test spot to dry, then check in angled light for haze. If the finish looks dull, choose plain water or a product directed for that material.
Independent guidance emphasizes that the right product depends on the surface and that soap-and-water cleaning isn't equivalent to disinfection, as summarized in University of Washington cleaning and disinfecting guidance. That caution applies to electronics and unsealed porous materials too. Don't spray electronic components, and don't soak unsealed wood or stone and hope it dries evenly.
Bathroom sinks and sealed tile can suit routine cleaning with this spray, followed by rinsing. Cutting boards and high-touch food areas need directions appropriate for food-contact use, not assumptions. When a surface manufacturer gives specific care instructions, those instructions win over any general recipe.
Performance should be part of your judgment, not an afterthought. EPA Safer Choice eligibility requires products to perform comparably to a conventional, nationally recognized product in the same category at the recommended routine-cleaning dilution, according to EPA Safer Choice product performance requirements. Hold your homemade batch to a similar practical test, does it remove soil without leaving film at the stated dilution?
Keep Cleaning and Disinfecting Separate
Here's the confusion that causes the most trouble. Soap, water, and friction can remove dirt and some germs from a surface, but removal isn't the same as killing bacteria or viruses. Calling this spray a disinfectant without product-specific testing overstates what you know.
Public-health guidance says sanitizers and disinfectants must be used according to their labels, and an EPA registration indicates a product has undergone efficacy testing, as explained in federal guidance on selecting cleaning, sanitizing, or disinfecting products. Some products work against bacteria but not viruses, and food-contact uses require specific directions. A homemade recipe carries none of those verified claims.
A Simple Decision Path
- Routine soil: Use the Castile spray, agitate, and rinse-wipe.
- Illness or bodily fluids: Clean first to remove soil, then use an appropriate labeled sanitizer or disinfectant.
- Labeled product step: Follow its directions exactly, including keeping the surface wet for the required contact time instead of wiping immediately.
That sequence matters for cutting boards, high-chair trays, and bathroom surfaces after someone's been sick. Cleaning first helps the labeled product work as directed, because heavy soil can interfere with hygiene-focused treatment. Skipping the clean, or skipping the labeled product when it's needed, leaves a gap.
For a clearer side-by-side explanation, the difference between all-purpose cleaner and disinfectant lays out why the terms aren't interchangeable. Keep that distinction on your bottle label too. Writing "general cleaner, not a disinfectant" prevents someone else from relying on it for the wrong task.
Natural, plant-based, and antibacterial-sounding are descriptions, not verified efficacy claims.
Never mix this cleaner with bleach, ammonia, acids, or other products. Mixing doesn't create a stronger all-purpose cleaner, it creates unpredictable chemistry and residue. Separate bottles, separate cloths where practical, and a full rinse between different products keep each step doing its own job.
Troubleshoot Residue and Make Refills Easier
When a surface looks hazy, diagnose before you remix stronger. Check three benchmarks from EPA Safer Choice criteria for surfactants and formulation evaluation, visible streaking after drying, tactile soap film, and re-soiling within 24 hours. Failure on any one usually points to excess soap, hard water, poor rinsing, or an incompatible surface.
In hard-water areas, switch to distilled water and reduce the soap dose. Rinse the trigger and bottle before refilling, because old residue builds up in mechanisms and seeds the next batch with film. Keeping a clean, reusable vessel is part of the system, as covered in guidance on choosing an eco-friendly spray bottle for refills.
Packaging choices can support the same goal. EPA's strengthened 2024 Safer Choice requirements specify certified products must use packaging that's recyclable, reusable, or contains post-consumer recycled content, with no intentionally added PFAS in primary packaging, per EPA's 2024 Safer Choice standard update. Fillaree is one example of a refill-focused company to evaluate against those criteria, alongside other good products with clear labels.
Broader company claims deserve independent checks too. Certified B Corporations are assessed for verified social and environmental performance, transparency, and legal accountability across areas including climate action and circularity, as outlined in B Lab's published B Corp standards. That's a firmer basis for supporting good companies who care than a green leaf on a label.
Your repeat checklist: measure 1 to 2 teaspoons in 500 mL, choose water for your hardness, label and date, test the surface, rinse-wipe, and keep disinfectants and acids separate.
If you'd rather refill than rebuy, Fillaree offers refillable soaps and all-purpose cleaners through home refills and partner refill stations, so you can keep one labeled bottle in steady rotation. Explore the refill options and build your low-waste cleaning routine with Fillaree.